 From Dorie Greenspan’s book, Baking With Julia, comes this recipe for that famous French pastry – croissants, even though France is not where croissants originated. This week’s recipe is actually two recipes. First, the making of croissant dough. Second, turning that dough into croissants. The contributing baker for this recipe is Esther McManus. Here is a link http://video.pbs.org/video/2250835454/ to a video of she and Julia Child making croissants. I watched it before making my croissants and it was very helpful and lots of fun to see Julia in action! I had so much fun making croissants. It took 2 days. Will I do it again? Absolutely! This blog post is loaded with pictures and I hope you enjoy the process. The full detailed recipe is posted by TWD host, Amanda of Girl+Food=Love. Amanda has done an awesome job detailing the recipe!
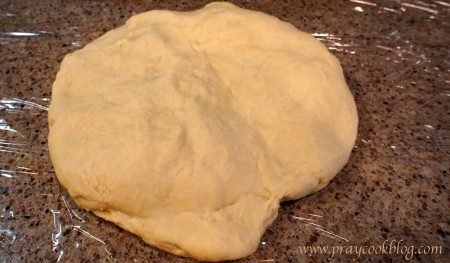 The dough consists of yeast, flour, sugar, salt, and milk. Once made it is wrapped and placed in the refrigerator for at least 8 hours or overnight. Mine rested overnight, rose slightly from the yeast and remained a beautiful dough to handle the following morning.
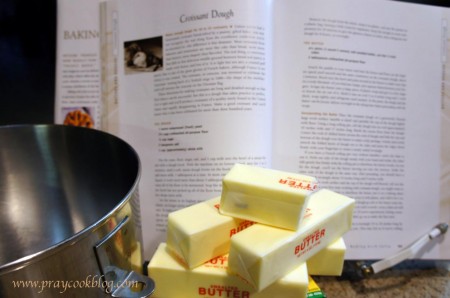 If butter insults your healthy-living sensitivities, you might as well stop right here. These croissants require butter — 4 1/2 sticks of it! My motto “everything in moderation” means I will make the croissants, use the butter, and only eat the unbelievably delicious croissants “in moderation”! 🙂
 While the dough is resting, the butter is mixed with flour. The flour helps to absorb the water in the butter as the croissant dough is rolled and baked.
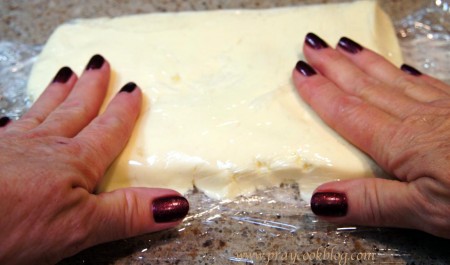 The butter/flour mixture is placed on plastic wrap, shaped into a rectangle, wrapped and placed back in the refrigerator.
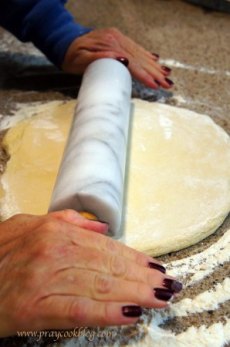
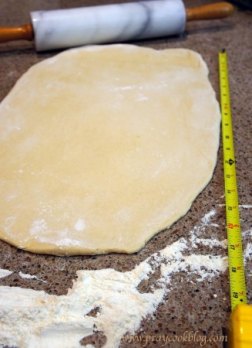 Incorporating the butter into the dough requires time and patience. There is a lot of rolling. But that is the fun part too! The dough is rolled into a rectangle 24″ to 26″ long by 14″ wide.
 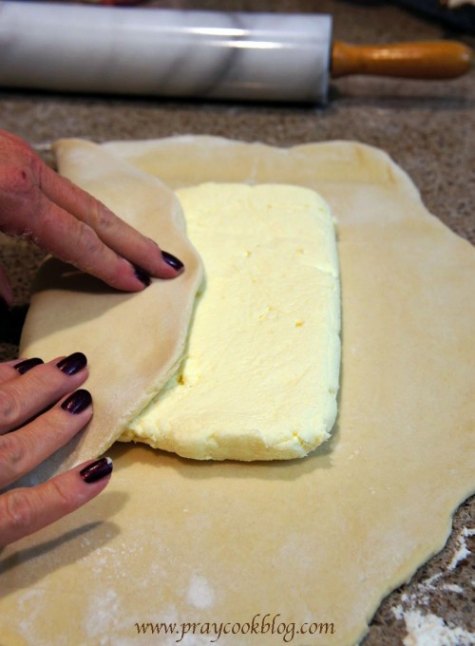 The piece of chilled butter is placed in the middle of the dough.
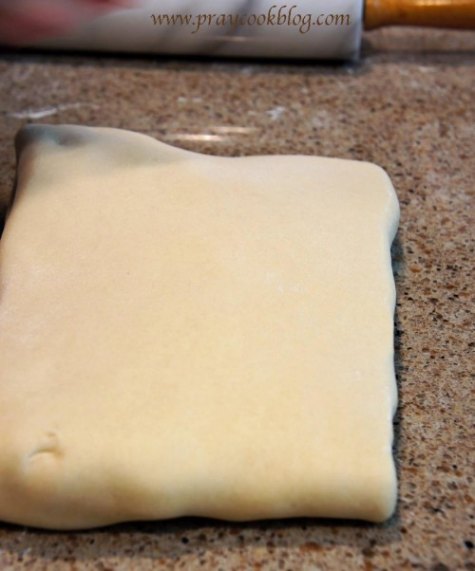 The dough is folded over the butter making a nice little “packet”. This is the beginning of the buttery croissant dough to follow.
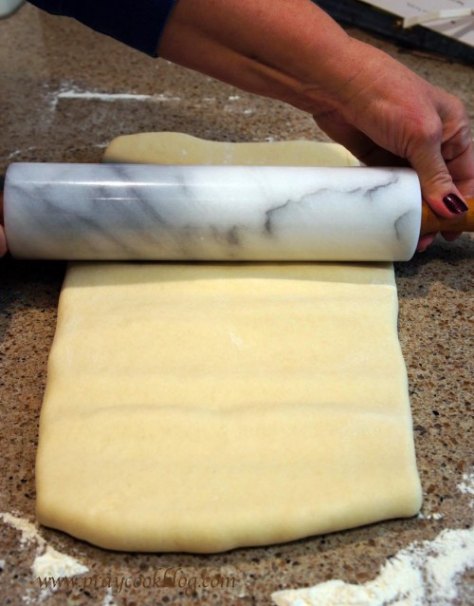 Rolling, rolling, rolling. This way, that way. Roll, roll, roll.
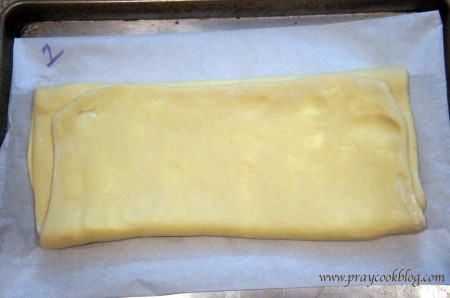 Next step is to fold and refrigerate for a rest (2 hours). The dough … not me! I am making lunch.
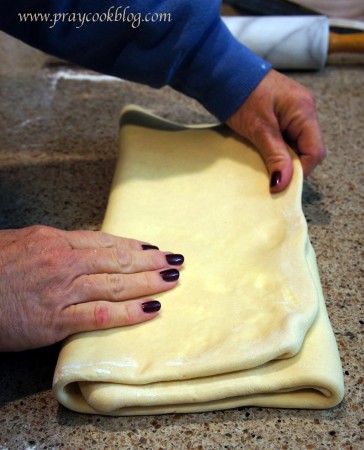 Dorie and Esther do a great job explaining step-by-step how to roll, fold, rest. Roll, fold, rest. This happens 3 times in 2 hour intervals.
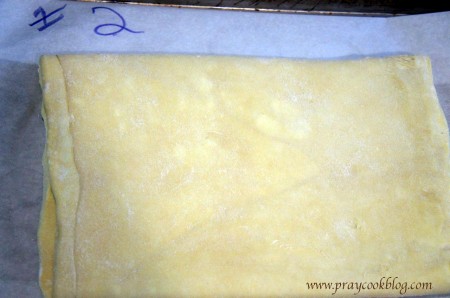 This is turn #2. See the marking? It’s mandatory to making the croissants! 🙂 Roll, fold, mark, rest.
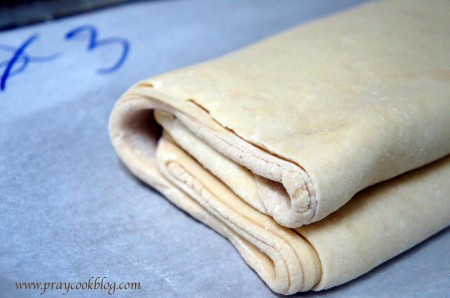 The final fold is called “the wallet”. It is like closing a wallet or a book. This is the end of recipe #1! The dough can be used right away, left in the refrigerator overnight and used the next day or frozen for up to a month.
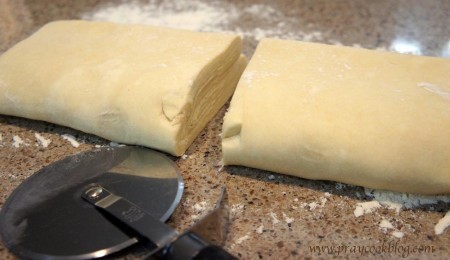 I cut the dough in half, wrapping and freezing half to make chocolate filled croissants on another day.
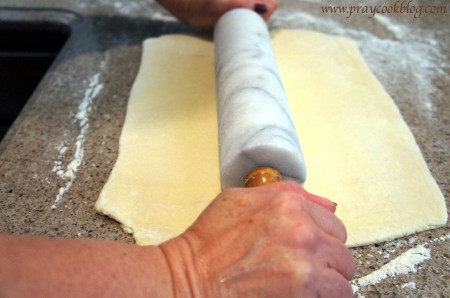 After the third turn and 2 hour rest in the refrigerator the dough is rolled, again. Using a lot of flour while rolling keeps the buttery dough from sticking to the counter. I started out “sprinkling” flour on the counter. I quickly realized I needed a handful here and a handful there. Be generous with the flour and make sure the dough stays chilled. Do not over-roll until the dough is warm. This will cause the dough to release the butter and you will be very unhappy with the end results. If the dough gets warm, pop it back in the refrigerator for an hour or until the butter is set and the dough is re-chilled.
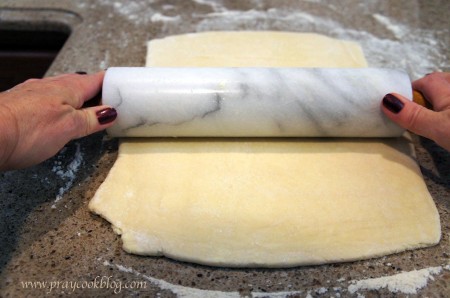 The dough is rolled into a rectangle about 20″ to 24″ inches long and 15″ to 18″ wide. This takes patience in rolling, but the result is worth it!
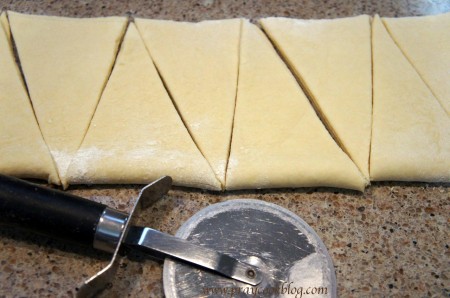 Once the rectangle is formed the dough is folded in half and cut into triangles. The video of Esther and Julia shows how to do this the very best.
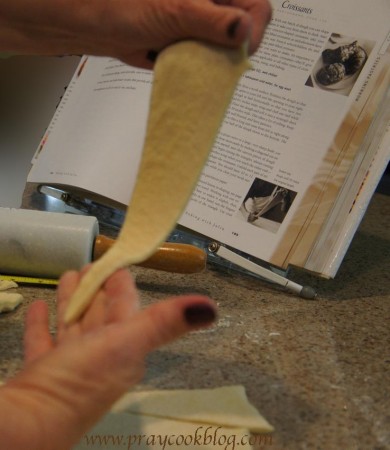 Now each triangle is stretched. This is the only picture I ended up taking of stretching the triangle and it came out blurry. Sorry about that, but I still want you to see the stretching as it is an important step. Making the dough longer will result in more layers within the croissant, creating the flakiness we are striving for.
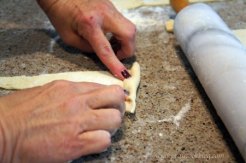
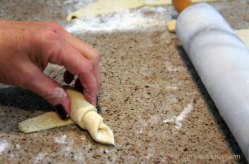 I measured my croissants 3″ across the top when I made them. They turned out a little on the small side and next time I will start with a triangle that measures 4 inches across the top. The ideal place for rising is a turned-off oven containing a pan of hot, steamy water. The croissants need 3 to 4 hours to rise.
 They bake for 12 minutes, then are turned front to back and baked another 4 to 6 minutes. Since mine were small I baked them for a total of 16 minutes. I only baked one pan at a time.
 Making these croissants reminded me of why I choose to join the Tuesdays With Dorie baking group in the first place. I am sure I would not have tackled this multi-step, multi-page recipe without the prompting from the group. It continues to thrill me to be baking through the book, Baking With Julia!

 My family is happy with these results and so am I. But wait … there’s more –

I hope you will stop by later in this week when I show you how I turned the other half of the dough into the best of all bites – pain au chocolat!
~Blessings, Catherine
I agree! I would have never dreamed of making croissants without the group. So worth it.
Yes it is and so fun baking as a group and seeing each other’s creations! Thanks for stopping by my blog.
Lovely! These were yummy and I agree, a bigger triangle is easier, prettier, and tastier! I baked mine all in one day and made the chocolate and almond ones, too. They were just as good.
Your croissants looked great too!
Love croissant dough! Here are 2 great recipes to make using your croissant dough. Love them both! http://www.epicurious.com/recipes/food/views/Parma-Braids-104002 and http://www.epicurious.com/recipes/food/views/Cinnamon-Croissant-Coffee-Cake-Princess-Ring-104001
Thank you for these links Becky, I am going to take a look at both. Thanks for taking the time to share!
Perfectly done, Catherine! The cookies will be a cinch after these!
Liz, I just made the cookies. I thought surely they would be rather boring. WRONG! Oh my gosh they are great! Posting next Tuesday!
What beautiful photos! I love your strategy to use the butter and eat the croissants in moderation!
It was a fun project and I can’t wait to do it again!
You are right…enjoy the process with patience! It was a lot of rolling but in the end so worth the final result. I would just plan better next time. I saved half my dough too…making the next batch chocolate. 🙂
Fun baking with you! Thanks for stopping by!
I’m also thrilled to have tackled croissants, yours look delicious! I will be checking back for your post on pain du chocolat 🙂
Nice work and great tutorial! Sounds like you had a great time making these.
Beautiful croissants Catherine. Glad that you enjoyed making this recipe. Sadly, we had to skip this one, but look forward to trying the recipe in the future. Looking forward to seeing how the pain au chocolate turns out for you. Of course flaky pastry and chocolate, who could go wrong?
Thank you, I sure had fun making them. You will love them!
bravo! I think tackling projects like this is so much easier when a whole group is working on it at the same time.
I hope you enjoy your chocolate version just as much.
Hi Cher, you are so right, it helps also that we have the chatter ahead of time!
I love your process pics. Your dough looks wonderful. And it looks like your dough made wonderful croissants! Great job.
Hi Sandra, Thanks for stopping by my blog. I look forward to getting around to others later this week!
Lovely looking croissants.
Wonderful looking croissants! Great post. Looking forward to the pain au chocolat.
I agree – I would have never attempted croissants without the TWD group! So glad we have this group to stretch our baking abilities! And to do it successfully, that is the icing on the cake! Great job!
Yes Sharron, It definitely is making me a better baker!
I love this group too for the same reason. It’s so great to try new things that maybe we wouldn’t try on our own. Your croissants look beautiful-you’d never know if was your first time!
Thank you Amanda, and your croissants were lovely too!
Wonderful post with great photos!! Glad you had great success!
Beautiful demo! Looks delish!